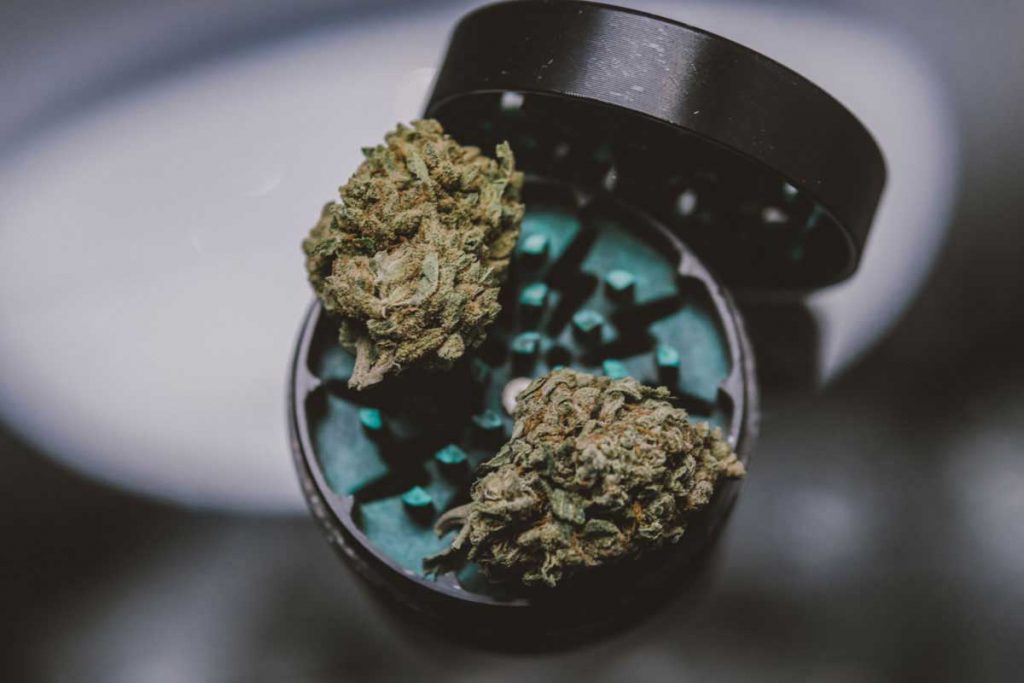
Prior to smoking or the consumption procedure of your favorite weed, grinding is the most pivotal step you need to make. Making use of the grinder brings you a consistent and even burn whenever you started smoking. Thus, you are now maximizing the potency of your weed and getting the most out of it.
On the chance that you generally utilized weed grinder, you must acknowledge the way not just to use it but also do some maintenance. As such, let us narrow the path and talk more on how to clean a weed grinder; the process on how to make sure that your weed grinder is good enough for you to use.
The Step-by-Step Process on How to Clean a Weed Grinder
In the event that you’re a cannabis lover, and at some point you own a weed grinder, then it’s best to know the ways on how to take care of it. In order to prolong the life of your weed grinder, you must perform some things that would heed to its components.
With the knowledge of how to clean a weed grinder will bear you the best tool to easily and perfectly smoke your preferred weeds. Additionally, you may not spend any more money to buy a new one in case a problem occurs that can only be solved through cleaning.
The major issue with weed grinders is that the device eventually bunches its parts with the bits of your weed’s materials, sticky resin, and powdery kief. At the point when this occurs, the lid can be stuck that which is then hard to work with. Furthermore, the cutting blades may not function well. As such, here is the step-by-step process on how to clean a weed grinder.
There are two (2) primary approaches on how to clean a weed grinder. The first approach is the thorough process that requires some additional means, yet it will let you collect some possible potent residue for sometime later. The second approach is quicker and less complex yet won’t permit you to spare the weed’s extra materials in the grinder.
Materials Needed: (Note: Both approaches require the same materials needed.)
- Your dirty weed grinder
- Soft-bristled brush (must be small to fit within the grinder)
- Any kind of stiff brush (Alternative: Unused or junk toothbrush)
- Clean water
- Isopropyl Alcohol
- Freezer
- Toothpick
- Bowl or Plate
- Ziploc bag (Alternative: Glass jar)
- Towel
Method No. 1
- Start the process by dismantling your weed grinder by expelling each chamber or parts of it. As the time you do this part, be cautious that any weed material must not be spilled over the chambers inside on your grinder.
- Dump out the extra weed materials in bowl or plate. Slowly and smooth must be the key when you are dumping out the extra weed materials. Do not do it harshly, and do not worry if some weed materials are still sticking onto the chambers. Henceforth, you can still deal with it through the next step.
- On your freezer, let every part of the grinder that has weed material to sit on it. With the time of 30 minutes, this will freeze the weed materials then. The need to freeze it will help the weed material to transform into little clumps as opposed to sticking firmly.
- Now, take away the grinder that’s on your freezer. Get your toothpick now and the tiny soft-bristled brush to tenderly scratch away the weed material as possible as you can. Do not forget to scrape every edge of the grinder.
- At the point when you are already fulfilled by the weed materials that you’ve saved, then now is the best time to put the chambers of your grinder inside the glass jar or Ziploc bag. Fill the container using the Isopropyl Alcohol with enough measurement that will drench all parts of the chamber.
- For about 20 minutes, let the chamber sit with it. Give some delicate twirl onto the container as this will help in breaking any weed material that is stuck on the edges of the grinder.
- Take away the grinder from the glass jar or Ziploc bag, and then pour away the alcohol. Get your toothbrush or some stiff brush to scour the edges of your grinder. Do not strongly brush the brush; you just need to do it calmly and carefully yet thoroughly.
- Lastly, in clean heated water, rinse the grinder with it. Replace the water with a new one if ever you saw it as not clean enough to completely clean your grinder. If you are now satisfied with it, get the towel and dry it off.
Method No. 2
- Start the process by dismantling and isolating each part of your weed grinder. Through this point, you may rapidly reap a tad of extra weed material by sparing it as possible as you can.
- With the span of 20 to 30 minutes, put the grinder and its chambers in a container (Ziploc bag or Glass jar) that is filled with Isopropyl Alcohol. Make sure that the alcohol will cover all parts of your weed grinder.
- Now, get your stiff-bristled brush or any brush to scrub it within your weed grinder. But before on it, pour the alcohol in your dumping area in the house. You can now start brushing the edges of your weed grinder.
- Lastly, in clean heated water, rinse the grinder with it. Replace the water with a new one if ever you saw it as not clean enough to completely clean your grinder. If you are now satisfied with it, get the towel and dry it off.
Reasons Why Cleaning your Weed Grinder is a Must Thing!
- Cleaning your weed grinder must be a fundamental thing to do to tap, saving your money, and the device as well. Be that as it may, it helps in improving the functionality, diminishing the risk that some bacterias may penetrate in, and will stop future clogging that bears damages through screwing the blades with it. After some time, the worst thing is that the residue would be like a glue material that is incredibly hard to expel.
- Bacteria can become pretty alive anywhere of your weed grinder, so cleaning is a must thing to do.
- Formed bacteria in the grinder may spoil your cannabis once you used it again. Furthermore, it brings you the risk of inhaling harmful content that won’t go well with your body.
- The magnets and blades of your weed grinder can become loose whenever residues of your weed have been left on the chambers of your weed grinder.
- It is awful for pollen assortment as you may overlook the kief and the dust or molds on it. As such, you really need to clean it to get the best component of your weed.
- You may lose some money if you don’t keep your grinder clean as some parts of it may not function well due to the leftover materials when in the first place, it can be curbed by cleaning.
Conclusion
A weed grinder is one of the essential things a cannabis smoker needs to have, serving as the backbone of every weed session to gather all the contents of your weed. But throughout the time of using it over and over, it may become less powerful due to some stains that are left sitting this.
As a result, you need to appropriately keep the weed’s grinder life as long as it can through knowing and doing how to clean a weed grinder. Doing the cleaning process is not a crucial thing at all, as the crucial thing is by keeping you safe while savoring all the components of your weed without any form or bad content kicking in. Therefore, you need to make sure and do well in maintaining cleanliness on your weed grinder to not trigger any bad elements.

