© Marijuana Seeds Canada | 2026

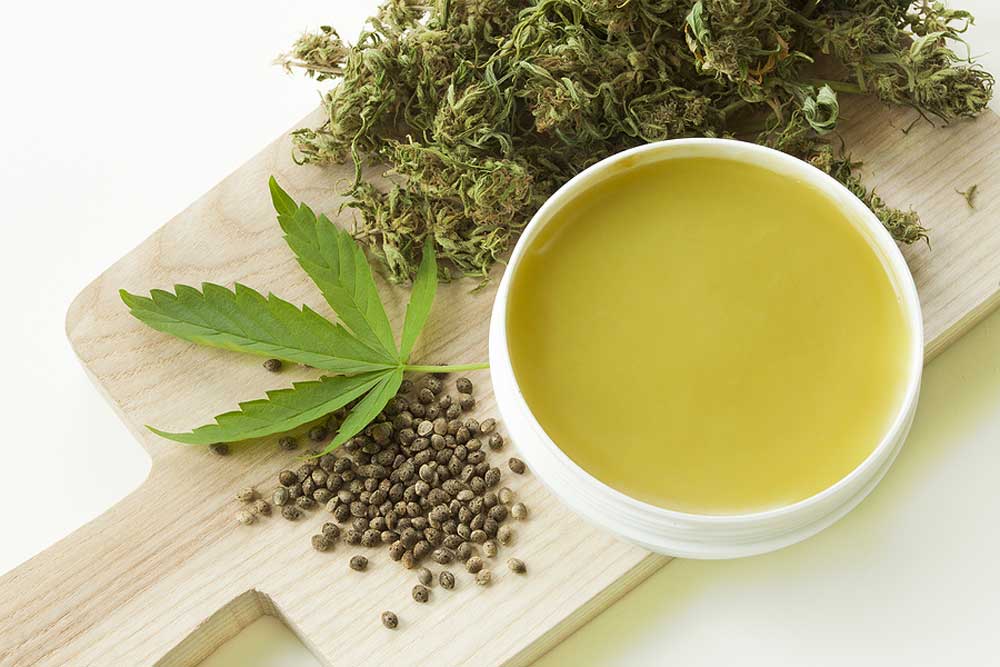
Cannabis is not just recreational but also medicinal. It comes with natural compounds that can help you deal with a variety of medical and health conditions like pain, anxiety, and stress. And to consume medicinal cannabis, there are different products you can use. One of these is the lowly but potent cannabis salve. This is a cannabis salve recipe guide to help you make your potent products at home.
Salves are in the form of creams, balms, and ointments. It’s very effective in a variety of medical conditions because it combines two therapeutic components:
Now that you know how salves work and how it can help you deal with different medical conditions, it’s time to learn a simple salve recipe. Note that this salve recipe will make 2 cups of cannabis salve.
Decarbing is “baking” raw weed in a 200 degree Fahrenheit oven for 30 to 45 minutes to enhance the action of THC. Pre-heat your oven while preparing your weed.
Cut or grind weed using a grinder. When done, place a sheet of parchment paper on a baking tray. Scatter weed on the tray to ensure even decarbing. Halfway through, use a spatula to turn the marijuana for even cooking/ baking. When decarbing is done, remove the tray from the oven and let these cool on the counter.
Use a double boiler or a water bath to heat the carrier coconut oil. Place the oil in a glass mixing bowl and place hot water on the other. Place the smaller glass bowl in the bigger bowl with hot water and let the oil heat up. Use a clean spatula to slowly stir the oil. Use a cooking thermometer or probe thermometer to ensure that the oil maintains a temperature of 250 degrees Fahrenheit.
As soon as the oil is warm enough, add the olive oil, vitamin E oil, and essential oils. Use a spatula to mix the oil and other ingredients. In a separate pot, heat the beeswax pastilles until you get a smooth and creamy liquid. Add the melted beeswax to the oil mix and stir with a spatula once more. When all the ingredients are evenly matched mixed, remove the bowl from heat and allow this to cool down. Add the decarbed weed and the non-decarbed weed in. Stir completely using a spatula.
When the mixture is cool, strain it using a cheesecloth. Place a cheesecloth over the mouth of a mixing bowl. Slowly empty the mixture through the cloth. When the liquid has passed through and the solid particles are on the cloth, collect the edges of the cloth and squeeze any remaining liquid. This is a pure liquid salve.
Salve will dry easily, while it’s still semi-solid use a spatula to whip the mixture up. With quick easy movements, whip the mixture until you get a nice and even consistent with no bubbles or visible air pockets.
As your salve cools down, clean and sterilize your containers and caps. Wipe these dry and scoop the semi-solid salve in. Wait until the salve is completely cool before you cover. You can keep freshly made salve at room temperature for days. To enhance its shelf life place the containers inside the fridge or in a dry cabinet or cupboard.
If you find the finished product cracking or it’s just too dry, you can add more essential oils or beeswax. Melt beeswax pastilles and mix the liquid wax to the salve. If the salve is too runny or oily, remove the cover and just let it dry.
Use cannabis salves on the skin with no cuts, irritation, or redness. When using salves for muscle pain and strain, warm the salve first before you apply on the affected part.
You can add different fragrances and flavors to the mix. Flavors like flowery, lime, citrusy, and fruity flavors may help you relax, reduce stress and anxiety. Use salves as aromatherapy. You can also prepare salves of different flavors and use a particular one that matches your mood for the day. This cannabis salve recipe is so simple even anyone who has never made DIY salve before can do it. Always be careful when handling hot oil and observe safety as you prepare your DIY cannabis products.
Important Links
Are You 18 Or Over?
By clicking 'Continue', you confirm that you are over 18 years old. By using this website, you agree to our terms of service.